
Overlocking and coverstitching are both sewing methods you can use to create professional-looking seams and hems on your fabric. If you sew regularly, these stitching methods are a must-know! They’re incredibly handy for giving your projects that polished, store-bought finish. While overlock and coverstitch are similar in some ways, they differ in technique and application, so it’s worth taking the time to understand what sets them apart. Once you do, you’ll be able to use them effectively in your creations.
What Is Overlock?
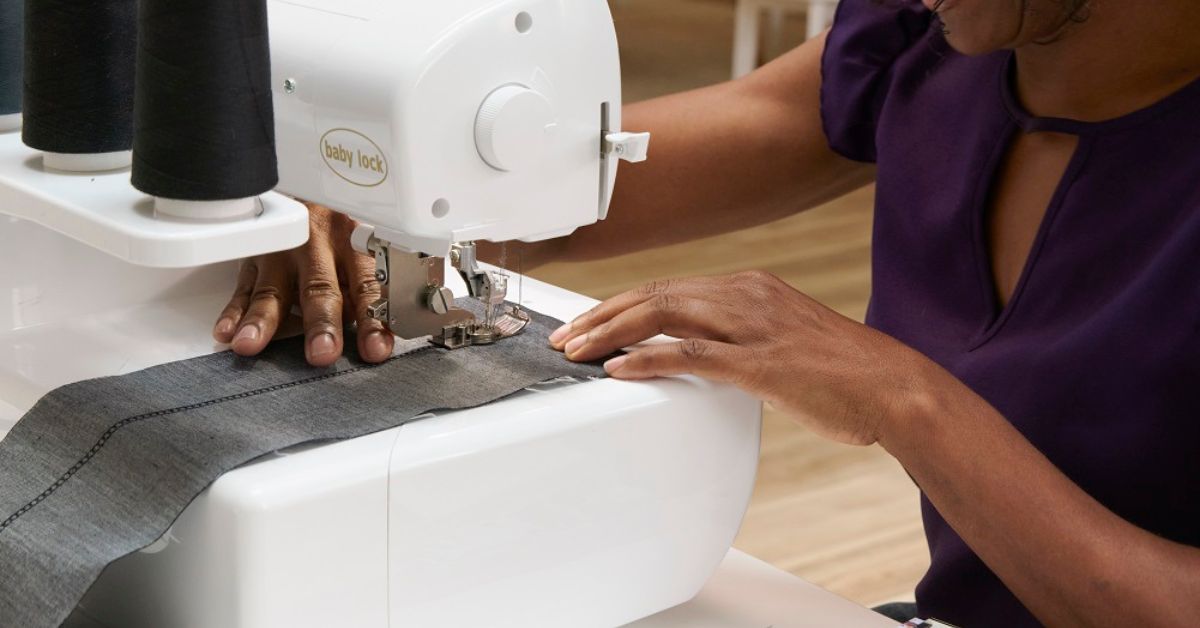
Overlock, also known as serger stitching, is a sewing technique that involves using a special type of machine called an overlocker to sew and finish raw fabric edges at the same time. This creates neat and durable seams by trimming off excess fabric while simultaneously enclosing it in thread. The result is a clean edge that prevents fraying and adds a professional touch to your garments.
How To Overlock
Overlocking is a relatively simple sewing method that beginners can pick up easily. Let’s go over how to do it step by step.
- Set Up Your Overlocker: Thread your overlocker according to the machine's instructions. Most overlockers require multiple threads, so take your time checking that everything is in place.
- Adjust Tension Settings: Test the tension on a scrap piece of the same fabric you're working with to achieve smooth, even stitching.
- Prepare Your Fabric: Trim any uneven edges and align your fabric pieces. The overlocker will trim as it sews, but starting with clean edges helps.
- Start Sewing: Place the edge of your fabric under the presser foot and guide it gently as the machine trims and stitches. Maintain a steady pace for even seams.
- Finish Off: To secure the thread, stitch a few centimeters off the edge of your fabric, then tie off the tail or use a darning needle to weave it back into the seam.
Overlock Stitching Applications
Overlock stitching is incredibly versatile and is widely used in sewing projects. Here are three common applications for it.
- Garment Construction: This stitch is ideal for finishing seams in clothing like t-shirts, dresses, and stretchy garments.
- Home Décor: You can use this stitch to finish edges on items like curtains, pillowcases, or table runners.
- Fabric Reinforcement: Overlocking is perfect for securing raw edges of thick or delicate fabrics to prevent fraying over time.
Tips for Successful Overlocking
If you’re new to overlocking, it can take a little time to get the hang of it. Use these tips to help you get started.
- Adjust Your Differential Feed: For stretchy or lightweight fabrics, tweak the overlocker’s differential feed to prevent puckering or stretching. This gets you even, professional-looking seams.
- Test Thread Tension for Each Fabric: Overlocking requires balanced thread tension. Test tension settings on scraps of the same fabric to avoid uneven stitches or looping.
- Use the Right Needles for Overlocking: Use overlocker-compatible needles, such as ballpoint needles for knits or sharp needles for woven fabrics, to prevent skipped stitches.
- Set Your Cutting Width Properly: Adjust the cutting blade width to match the thickness of your fabric. Too wide can leave excess fabric, while too narrow may cause weak seams.
- Practice Decorative Overlocking: Overlockers can do more than seam finishing! Experiment with decorative techniques like rolled hems or flatlock stitches to add flair to your projects.

What Is Coverstitch?
Coverstitch is a specialized sewing technique used to create strong, stretchy, and professional-looking hems, typically on knit fabrics. It’s done with a coverstitch machine, which uses multiple needles and loopers to form parallel rows of stitching on the top side of the fabric, while the underside is secured with a serger-like chain stitch. This method is ideal for producing clean, flexible hems and decorative topstitching, particularly in garments like activewear and t-shirts.
How To Coverstitch
Coverstitching requires a bit of setup but is straightforward once you get the hang of it. Here’s a step-by-step guide.
- Set Up Your Machine: Thread your coverstitch machine according to its manual. This typically involves threading two or three needles and a looper. Check that the threads are properly tensioned.
- Prepare Your Fabric: Fold and press the hem of your fabric to the desired length, as the machine won’t fold it for you. You can use fabric clips or washable tape to hold it in place.
- Start Sewing: Position the fabric under the presser foot with the folded edge aligned to the guide marks. Sew at a steady pace to maintain even, parallel stitches on the top side.
- Finish the Hem: When you reach the end, secure the threads by pulling them through to the wrong side of the fabric and tying them off or weaving them into the stitches.
Coverstitching Applications
Coverstitching is the main technique for finishing hems on stretch fabrics, but that's not its only use. Here are a few other common applications.
- Hemming Stretch Fabrics: Coverstitching is essential for garments like leggings, t-shirts, and swimwear, where flexibility and durability are key.
- Decorative Stitching: You can create attractive topstitch designs on both sides of your fabric for a polished look.
- Seam Reinforcement: This stitch adds extra strength to high-stress areas in clothing, such as armholes or waistbands.
Tips for Successful Coverstitching
Like overlocking, coverstitching is a fairly beginner-friendly technique. It takes some practice to master, but the basics—outlined below—are easy to pick up.
- Start With a Chain-Off: Before starting on your fabric, run the machine for a few stitches to create a chain. This makes it easier to secure your stitching and prevents unraveling.
- Use a Seam Guide: If you’re hemming or adding decorative stitches, a seam guide or magnetic guide can help keep your stitching even and aligned.
- Work Slowly on Curves: Coverstitching curves or round edges can be tricky. Slow down and pivot the fabric carefully to avoid uneven stitches or puckering.
- Backstitching Isn’t Necessary: Unlike a regular sewing machine, coverstitch machines don’t require backstitching. To finish, gently pull the threads to the back and tie them off for a clean look.
- Experiment With Decorative Threads: Coverstitching isn’t just functional; it can be decorative too! Try using contrasting or specialty threads in the looper for a custom finish.
By mastering coverstitching, you’ll be able to create polished, durable hems and finishes that rival professional garments!
Neat hems and seams can take your projects from "homemade" to "handcrafted." To give your creations that polished, professional touch, try overlocking or coverstitching! Now that you understand the difference between them, you can make the right choice for your fabric, project, and the finish you’re after and create clean, durable edges that last.
At Authorized Vac and Sew, we’ve got everything you need to make it happen. Our serger and overlock machines, as their name implies, are designed specifically for overlocking and coverstitching. They efficiently sew seams, trim excess fabric, and finish raw edges in a single streamlined process. These machines help you achieve clean, durable, professional-quality edges that don't fray. Finishing your projects has never been so fun or easy. Shop with us today for all the sewing supplies your heart desires—we’ve got it all and then some!