

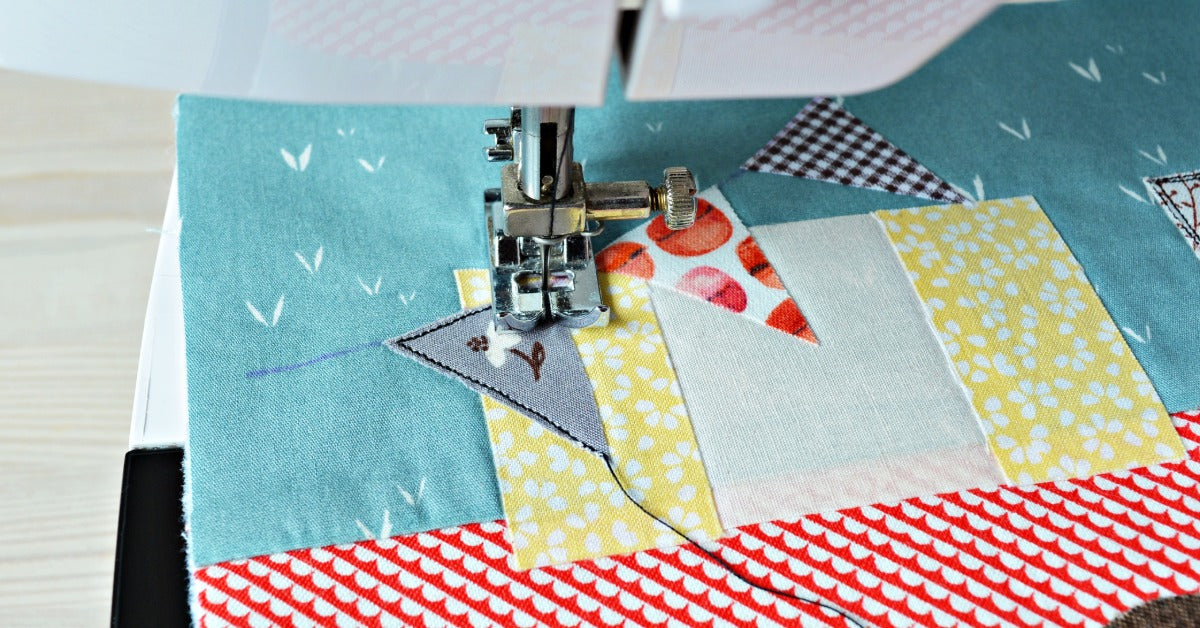
Embroidery and quilting each infuse plenty of personality into projects, yet together they create something with even more depth. A quilt block can turn into a tiny garden, a jacket panel can become a keepsake, and a simple table runner can feel elevated for the season. With a little planning, the two techniques support each other beautifully. See how you can combine embroidery and quilting for unique results.
Two Crafts, One Story
Embroidery is decorative stitching that adds detail, color, and whimsy to fabric. In a quilted project, embroidery gives the eye a clear place to land. The stitching can be bold and detailed or soft and simple. Consider embroidering flowers, names, borders, phrases, or small pictures stitched with thread.
Quilting joins layers of fabric and batting together with stitches. Those stitches add texture, shape, and structure to the project. They can outline the embroidery, frame it, or create movement around it. This pairing works well for wall hangings, baby quilts, bags, and pillowcases.
Start With a Simple Plan
A strong project starts with a clear idea before any stitching begins. Think about where the embroidery will sit, how large it should be, and how the quilting will move around it.
These planning questions help you decide how embroidery and quilting should work together:
- What part of the project should draw the eye first?
- How much open space will the quilting need?
- Which thread colors will repeat across the project?
- Where might seams interrupt the embroidery?
- How dense should stitched areas become?
After that, choose a project size that matches your comfort level. A pillow cover or small wall hanging gives you room to experiment without committing to a bed-size quilt. Moreover, smaller projects make it easier to test thread, stabilizer, batting, and stitch density.

Choose Compatible Materials
Fabric choice affects both the embroidery and the quilting. Firm cotton works well for many projects because it handles stitching, pressing, and layering without much fuss. If the fabric stretches or shifts easily, the embroidery may pucker, and the quilted layers may feel harder to control. Beginners usually have an easier time starting with stable woven fabrics.
Embroidery thread and quilting thread do slightly different jobs. Embroidery thread adds sheen and detail, while quilting thread needs to hold layers together through use and washing. Keep in mind that the batting changes the final texture of the stitching. Thicker batting raises stitched areas more than thin batting.
Stabilizer Choice
Stabilizers support the fabric while the embroidery stitches form. Tear-away, cut-away, and wash-away stabilizers each suit different projects, so the right choice depends on fabric, design density, and how the finished item will be used. A dense design usually needs more support than a light outline motif. After embroidery, trim or remove the stabilizer carefully to keep the quilt sandwich smooth.
Let Embroidery Shape Quilting
Embroidery can guide the quilting plan rather than sit on top as an afterthought. Floral embroidery might inspire echo quilting around petals, while geometric embroidery might pair well with straight lines or gentle curves. This is one way to demonstrate the unique results of combining embroidery and quilting in a cohesive project.
Pay attention to spacing around the embroidered area. Quilting too close to raised embroidery may flatten the design or make the surface look cramped. However, quilting too far away may leave loose areas that feel unfinished. Generally, leave about a quarter to half an inch of space around raised embroidery. Adjust the distance based on the design's thickness and the look you want.
Add Texture With Stitching
Embroidery and quilting stitches catch light differently, which gives the finished project more texture and depth. Embroidery stitches usually sit on top of the fabric, creating smooth, raised, or detailed areas. Quilting stitches pass through the fabric layers and batting, adding shadows and movement across the surface. Many quilters sewing machines can also work with embroidery modules, making it easier to add decorative designs to quilt blocks.
Raised Embroidery
Raised embroidery adds dimension because the thread sits above the fabric surface. Satin stitches work well for smooth borders, lettering, petals, and small shapes. Fill stitches create solid areas of color, which can make a motif feel bold and polished. This texture stands out best when the quilting nearby stays simple.
Quilted Lines
Quilted lines create texture by pulling the fabric and batting together. Straight-line quilting gives a clean, modern look, while gentle curves add softer movement. Echo quilting works well around embroidered motifs because it follows the shape without covering the design. These stitches frame the embroidery and make the block feel finished.
Decorative Stitch Texture
Decorative stitches add small accents without needing a large, embroidered design. They can create borders, vines, scallops, waves, or simple geometric details. These stitches work especially well between quilt blocks or around the edge.

Confidently Mix Motifs
Motifs work best when they share a visual connection. A vine embroidery design might pair with leaf-shaped quilting, while a stitched star could work with straight-line quilting that radiates outward. Color can also connect the two techniques when the same thread family appears in both areas.
These motif ideas offer easy starting points for blended projects:
- floral embroidery with soft echo quilting
- monograms framed by simple crosshatching
- seasonal motifs paired with border quilting
- animal designs surrounded by organic curves
- geometric embroidery matched with straight lines
Consider Scale
After choosing motifs, think about scale. Tiny embroidery may get lost beside large quilting shapes, while oversized embroidery may crowd a small block. Moreover, repeating one small design across several blocks gives the eye something familiar to follow.
Color Choices
Color sets the mood before the texture even shows. Embroidery and quilting threads that match create a subtle look, while contrasting threads make the stitching stand out. Additionally, neutral quilting thread can calm a colorful embroidered design.
Finish With Care
Finishing steps protect the embroidery, smooth the quilted layers, and give the project a polished look. Move slowly at this stage so the raised stitches and backing look neat.
To finish the project:
- Press embroidered areas gently so raised stitches keep their shape.
- Use a pressing cloth when working with shiny thread or delicate fabric.
- Check the back of the project for loose threads before final quilting or binding.
- Choose a simple binding when the embroidery already has a lot of detail.
- Use a patterned binding when the design needs a little extra color or energy.
- Add a label with the date, occasion, or a short note about the design.
Make It Truly Yours
The best projects reflect the maker’s taste and story. You might stitch a family name into a quilt, add embroidered flowers to a tote, or quilt around a favorite seasonal design. Your personal touches make even a simple layout feel special.
Try one new idea at a time, such as a different stabilizer, a new quilting path, or a fresh thread combination. By doing this, each project teaches you something without becoming overwhelming.
Embroidery and quilting work together because they bring different strengths to the same project. Embroidery adds detail, while quilting adds texture, structure, and movement. Authorized Vac and Sew has sewing machines for makers of all skill levels. Try a high-quality quilting sewing machine to add more detail and personality to your projects.