

Think of all the project ideas that become easier when you don’t have to trace and cut every shape by hand. With a ScanNCut machine, you can make appliqué pieces, vinyl accents, and scanned cutouts from your own designs. The possibilities are exciting, but you still have to start with clear, simple steps. Use these simple tips to get started creating clean, custom pieces with your ScanNCut machine.
Start With the Basics
Your first few sessions should focus on learning the machine, not finishing a complicated project. Set up the machine on a sturdy table with room for the mat to move in front and behind it. Then, take a few minutes to review the screen, blade holder, mat, power cord, and basic tools before cutting anything.
Keep your material flat and choose the correct mat for the project. Save your packaging and quick-start materials until you feel comfortable with the parts and accessories. Most beginners start with the blade and holder included with their ScanNCut machine. Later, you might add specialty blade kits to handle more materials.
Choose Beginner Materials
Paper and cardstock make good starter materials because they’re affordable and easy to replace. Vinyl also works well once you understand how the mat holds material and how the blade moves through the design. Fabric projects may require backing or fabric-specific accessories, so check your machine manual before cutting quilt pieces or appliqué shapes.
Good starter projects have clean lines and medium-sized shapes. Simple projects help you learn what the machine does before you add layers, specialty materials, or tight curves.

Learn the Mat System
The cutting mat holds your material in place while the machine scans and cuts. Different mats have different tack levels, so the right choice depends on the material. A mat that grips too strongly may curl delicate paper, while a mat that doesn’t grip enough may let fabric or cardstock shift.
Follow these basic mat habits to protect your projects and your supplies:
- Press the material smoothly onto the mat.
- Keep dust and thread away from the adhesive.
- Remove finished cuts with a spatula tool.
- Cover the mat after each use.
- Replace mats when they lose grip.
Try Built-In Designs
Built-in designs make it easy to practice before you create your own files. You can choose a shape, resize it on the touchscreen, place it where you want it, and cut it from your chosen material. Additionally, this helps you understand the layout before you start scanning original artwork or importing files.
The machine may include built-in shapes, fonts, quilt designs, or themed artwork, depending on the model. Because features vary by machine, consult your specific model’s manual or product listing for exact design counts.
Practice With Simple Shapes
A basic heart, star, label, circle, or flower teaches you plenty about placement and cutting. You’ll see how the design appears on the screen, how the mat loads, and how the finished shape lifts away. Moreover, simple shapes reveal whether your material stuck properly to the mat.
Use the Scanner
The scanner lets you turn physical artwork or material placement into something the machine can read. You might scan a printed outline, a hand-drawn shape, or a piece of fabric with a visible motif. Then, you can use the screen to adjust the cut area before the blade starts.
This feature helps sewists and crafters by bringing real materials into the digital cutting process. For example, you may scan patterned fabric and place a cut around a specific flower, animal, or border.

Explore Creative Projects
Once basic cuts feel familiar, a ScanNCut can become the tool that connects your sewing, quilting, organizing, and upcycling ideas. This die-cut machine uses digital cutting rather than traditional manual dies, giving sewists more flexibility. You can scan designs, resize shapes, and create more custom project pieces.
Appliqué Shapes
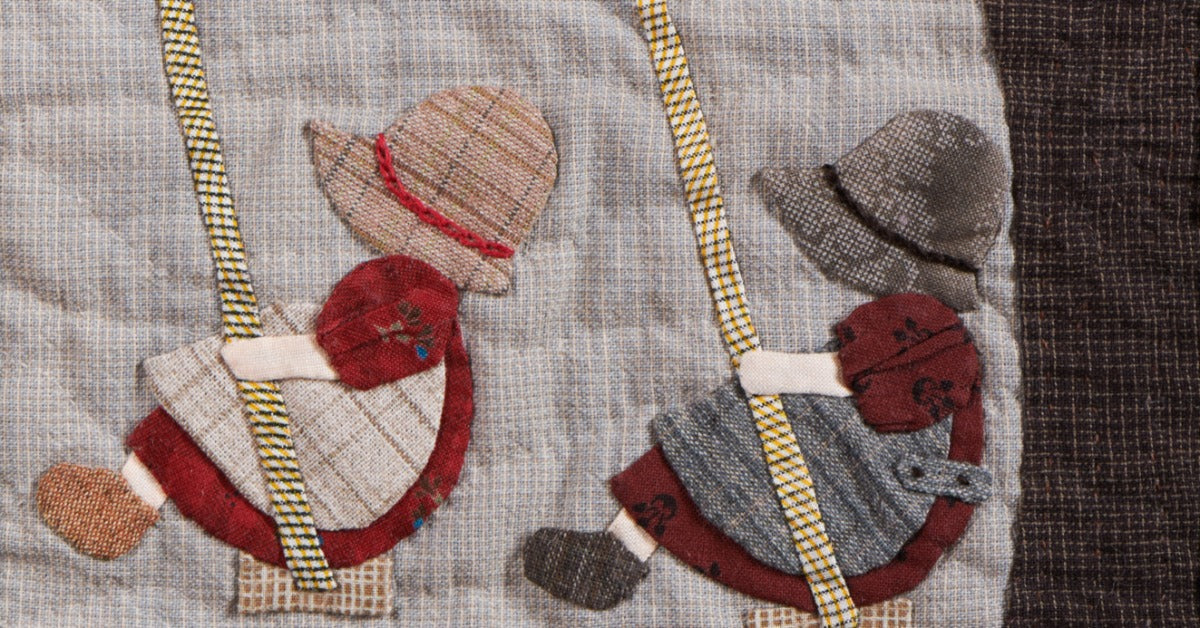
Appliqué pieces are fabric shapes that you stitch onto quilts, bags, garments, or home décor projects. With a ScanNCut, you can choose or scan a shape, size it on the screen, and cut it from backed fabric. These designs add detail without changing the whole project. Once the pieces are cut, you can place them on your fabric and stitch around the edges with your sewing machine.
Quilt Labels
Quilt labels let you add names, dates, messages, or initials to a finished quilt or handmade gift. You can use a ScanNCut to cut letters or simple label shapes from backed fabric or heat-transfer vinyl. After choosing the design, size it to fit the quilt back, then cut the material and remove any extra pieces if needed. Then, apply or stitch the label onto the quilt.
Fabric Accents
Fabric accents are small decorative pieces that add color, shape, or personality to a project. A ScanNCut can cut repeated accents, such as stars and leaves, with cleaner sizing than hand trimming. Load backed fabric onto the mat, choose your design, and let the machine cut the pieces. Then, arrange the accents where you want them and sew them in place.
Upcycled Clothing
Upcycled clothing projects give older garments a fresh look with new shapes, letters, or designs. With a ScanNCut, you can cut heat-transfer vinyl for garments and accessories. Choose a design, size it for the garment, cut the material, and follow the material directions for applying it. This is an easy way to refresh something plain or outdated.
Build Better Habits
Good habits make every project smoother after the first few tries. Test cut when you use a new material, especially if it has a different thickness or finish than what you’ve cut before. Also, keep notes about which mat, blade, and settings worked for each material.
These habits help you get cleaner results as your projects become more detailed:
- Run test cuts on scrap material.
- Clean small bits from the mat.
- Store blades with their correct holders.
- Check material placement before cutting.
- Keep project notes for repeat cuts.
Using your ScanNCut machine starts with curiosity and a few simple steps. Learn the mat system, use the blade that came with your machine, and practice with shapes that don’t feel too detailed. Before long, you’ll be making appliqué pieces, vinyl accents, and custom details. And it’ll be much more fun than cutting everything by hand!