

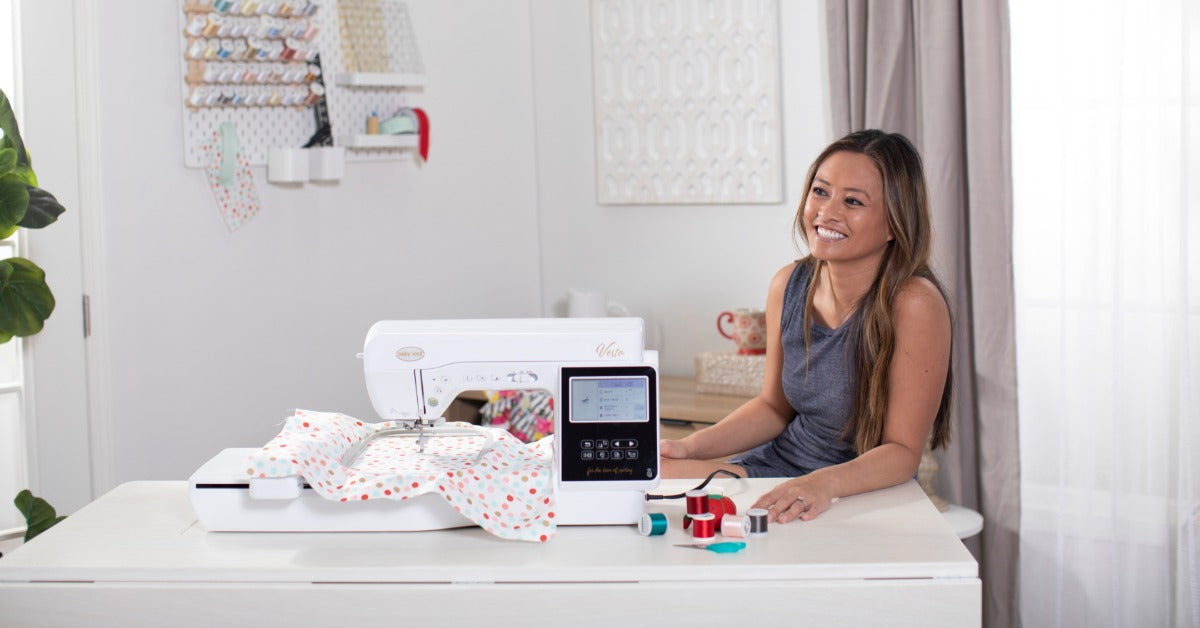
Machine embroidery can feel like a big process when you are just getting started. There are designs to choose, fabrics to prepare, and machine settings to check. With these seven simple steps, you can start an embroidery project with more confidence. A little preparation can help your machine stitch more smoothly from the beginning.
1. Choose Your Design
Every embroidery project starts with the design. You might use a built-in design from your machine, download a file, or create something custom if your machine and software allow it. For a beginner project, choose a design with simple shapes and a moderate stitch count. Look for clean outlines, larger filled areas, and fewer tiny details so the machine has less dense stitching to manage.
Think about where the design will go before you commit to it. A small floral design may work well on a towel, while a larger monogram may fit better on a tote bag or sweatshirt. The right design should match the fabric, project size, and look you want.
2. Select Fabric and Stabilizer
Fabric and stabilizer work together to support the design while your embroidery machine stitches. The fabric gives the project its shape and purpose, while the stabilizer helps control movement, puckering, and stretching. Before you stitch, make sure both choices fit the design you want to create.
Match Fabric to Project
Stable fabrics are often easier for beginners because they shift less during stitching. Cotton, canvas, denim, and similar materials can be good starting points for many machine embroidery projects. Stretchy or lightweight fabrics may still work, but they usually need more careful stabilizing. When in doubt, choose a fabric that feels sturdy enough to hold the design without sagging.
Choose the Right Stabilizer
Stabilizer is a backing material that supports the fabric while the embroidery machine stitches the design. It helps keep the fabric from shifting, stretching, or puckering as the needle moves.
Choose stabilizers based on the fabric and the density of the design. Tear-away stabilizer works well for many stable fabrics; cut-away provides lasting support for stretchy fabrics; and wash-away is useful when you do not want any backing left behind.
3. Pick Thread Colors

Thread color helps set the style and mood of your embroidery project. You can follow the design’s suggested color chart, or you can adjust the colors to match your fabric, décor, clothing, or gift idea. Choose colors with enough contrast so small details, lettering, and outlines do not disappear into the fabric. For a balanced look, use one main color, one supporting color, and one accent color.
Follow these guidelines for choosing thread colors:
- Match colors to the design details.
- Check how the thread looks against the fabric.
- Consider whether you want shine or matte softness.
- Use contrast for lettering or fine details.
4. Prepare the Bobbin
The bobbin supplies thread from beneath the fabric, helping the top thread lock into place as the stitches are formed. When the bobbin thread feeds correctly, the back of the embroidery looks cleaner, and the front of the design is less likely to show tension issues. Because embroidery machines can be particular about bobbins, always use the type and thread weight recommended for your model.
If you wind your own bobbin, keep the thread even and avoid overfilling it. If you use prewound bobbins, confirm that they fit your machine and feed smoothly from the bobbin case. A properly prepared bobbin reduces thread breaks, nesting, and uneven stitching.
5. Hoop the Fabric
Hooping keeps the fabric and stabilizer in place while the machine stitches. It also helps with placement, tension, and overall stitch quality. Take your time with this step because small shifts in the hoop can affect the finished design.
Keep the Fabric Smooth
Smooth fabric helps the embroidery machine place stitches where they belong. The fabric should sit flat inside the hoop without wrinkles, folds, or loose spots. Check the front and back of the hoop before attaching it to the machine. If the fabric looks uneven, remove it and hoop it again before stitching.
Avoid Stretching the Fabric

Fabric should be secure in the hoop, but not pulled too tightly. Stretching the fabric can distort the design once the hoop is removed. This is especially important when working with knits, lightweight fabrics, or items that already have some give. A smooth, natural hold is usually better than forcing the fabric drum-tight.
Check Placement Before Stitching
Before you stitch, make sure the design is positioned where you want it. Use placement marks, templates, or your machine’s preview screen if available. Check that the design is straight, centered, and facing the correct direction. This extra check can help you avoid stitching a beautiful design in the wrong spot.
6. Load the Design
One of the most fun steps of starting an embroidery project is loading the design. Designs may be built into the embroidery machine, downloaded from embroidery files, or created or edited using software. When you compare embroidery machines for sale, think about how you want to access and adjust your designs. Some machines offer more built-in patterns, larger embroidery fields, or better on-screen editing, which can give you more room to create.
Follow these basic steps to load the design:
- Open the design menu on the machine screen.
- Select the embroidery design you want to use.
- Check the design size and orientation.
- Adjust the placement if needed.
- Review the thread color order before stitching.
Pro-Tip: Run a Test Stitch
Before you stitch the final item, test the setup if the fabric, design, or thread combination is new to you. Use the same stabilizer, thread colors, hooping method, and machine settings to see how the design will actually behave. Use a scrap piece as close as possible to the actual project material. Watch for puckering, thread breaks, skipped stitches, or areas that look too dense. If something seems off, adjust your stabilizer, needle, thread, or tension before stitching the final piece.
7. Start Stitching
Once you press start, the machine will begin building the design through stitches, color changes, and separate design sections. Some parts may stitch quickly, while dense fills or small details may move more slowly. The machine may pause if it needs a new thread color or reaches a programmed stopping point.
During this time, keep an eye on the thread path, fabric surface, and hoop movement. Replace thread colors as needed, trim loose threads if your machine does not do it automatically, and stop the machine if the fabric starts to pucker or shift. After the design is finished, remove the hoop carefully and finish the stabilizer according to the type you used.
Learning these steps gives you a strong foundation for future embroidery projects. As you practice, you can branch out into monograms, appliqué, decorative borders, holiday designs, and custom gifts. Finding designs you love or creating your own can open more ways to make each project feel truly yours. Have fun playing with color, texture, and other details through machine embroidery!