

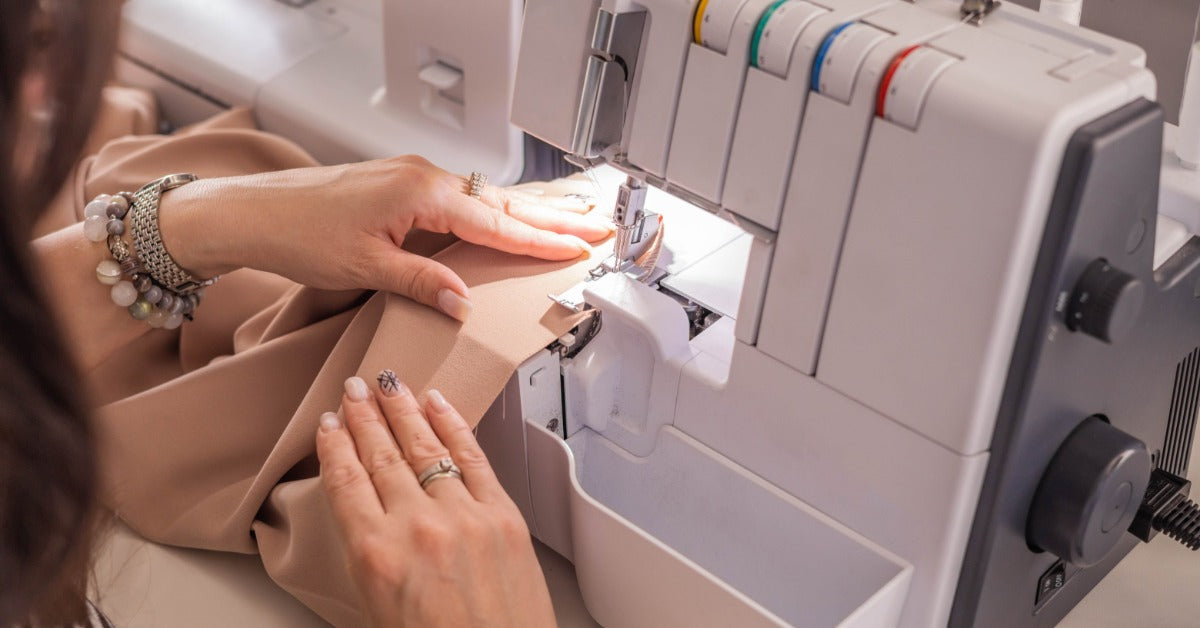
A small stack of fabric scraps is all you need to start learning what your serger can do. Starting with small projects keeps the process manageable and lets you build skills without wasting fabric. With these easy projects, you can practice your serger skills, including sewing knits, adjusting tension, turning corners, and creating rolled hems.
Create Reusable Cleaning Cloths
A serger, also called an overlock sewing machine, can sew seams, prevent fraying, and create flexible finishes. Reusable cleaning cloths provide repeated practice with straight edges while turning leftover material into something practical. Flannel, terry cloth, cotton knit, and worn towels can all work, although each material behaves differently beneath the presser foot. Cut several equal squares or rectangles so you can focus on maintaining an even edge finish.
Each fabric has different strengths, so consider these characteristics as you make cleaning cloths:
- Flannel works well for gentle wiping and polishing.
- Terry cloth holds more moisture but can feel bulky around corners.
- Cotton knit moves easily and works well for dusting surfaces.
- Old towels handle repeated use and larger messes.
- Microfiber remnants clean smoothly but can slip under the presser foot.
Make a Stretchy Fabric Headband

A fabric headband is another easy project to improve your serger skills because it uses a small amount of knit fabric and only a few seams. Choose a jersey or interlock knit with enough stretch to fit comfortably around the head. This project gives you a practical way to practice feeding flexible fabric without pulling it.
Cut a long rectangle based on the finished width and circumference you want. Fold the fabric lengthwise with the right sides together, then serge the long edge to form a tube. Turn the tube right side out before joining the short ends and securing the opening according to your chosen headband style.
Sew a Rolled-Hem Infinity Scarf
An infinity scarf offers a simple introduction to the rolled-hem setting on your overlock machine. Lightweight woven fabric, chiffon, or soft jersey can create a flowing scarf. Decorative thread in the upper looper can make the narrow edge finish stand out.
Cut one long fabric rectangle and use the rolled hem to finish the exposed edges specified by your design. Join the short ends carefully so the fabric forms a continuous loop without an unwanted twist. The long edges provide plenty of room to practice controlling your speed and keeping a consistent amount of fabric beside the blade.
Finish a Drawstring Fabric Bag
A drawstring bag introduces enclosed construction, seam alignment, and neatly finished edges. You can use quilting cotton for a stable beginner project or select a heavier woven fabric for a sturdier bag. Before sewing, decide where the drawstring openings will sit so they do not accidentally become enclosed in a seam.
Prepare and Mark the Pieces
Cut two matching rectangles based on the desired finished bag size. Mark the seam allowance, upper channel placement, and drawstring openings with a removable fabric marker. If the fabric requires more structure, apply interfacing. Confirm that any directional prints face the correct way on both pieces.
Serge the Side Seams
Place the fabric pieces with their right sides together and align all raw edges. Serge the side and bottom seams while leaving the marked drawstring areas open. Slow down near the lower corners to avoid trimming away too much fabric. Secure the thread chains to keep the seams intact during use.
Form the Drawstring Channel
Fold the upper edge inward along the marked channel line. Stitch the channel with a sewing machine if the design requires a straight line without trimming the fabric. Feed the cord or ribbon through the openings with a safety pin or bodkin. Tie the ends securely and test whether the bag opens and closes smoothly.
Upcycle a T-Shirt Into Shorts
An old T-shirt provides soft knit fabric for a lightweight pair of lounge shorts, sleep shorts, or children’s play shorts. The project lets you practice cutting matching garment pieces and joining stretchy seams without purchasing new yardage. A well-fitting shorts pattern can guide the shape and reduce guesswork.
A dependable overlock sewing machine can trim raw edges and create flexible seams in one pass. Arrange the pattern pieces so the original shirt design appears where you want it on the finished shorts. Add an elastic waistband after serging the front, back, and inseam sections together.
Make Rolled-Hem Fabric Napkins

Fabric napkins offer several chances to practice evenly finished edges and clean corners. Stable woven materials such as linen blends, cotton, and lightweight canvas are generally easier to control than slippery fabrics.
Keep these details in mind as you sew:
- Choose decorative thread for visible edges.
- Test rolled-hem settings on fabric scraps.
- Trim loose threads before reaching corners.
- Slow down as each corner approaches.
- Use matching fabric grain directions.
- Press completed napkins into even squares.
Create an Envelope Pillow Cover
An envelope pillow cover lets you practice precise cutting and straight seams using stable home décor fabric. Unlike a zippered cover, the overlapping back panels create an opening without requiring additional hardware. Measure the pillow form before cutting so the finished cover fits without excess fabric.
Finish the raw edges of the back panels before arranging them over the front piece. Serge around the full perimeter, keeping the overlap flat and aligned as it reaches the presser foot. Turn the cover right side out, shape the corners, and insert the pillow form through the back opening.
Gather a Tiered Fabric Skirt
A tiered skirt introduces gathering while reinforcing straight seams and accurate section placement. The project uses several fabric strips, with each lower tier cut wider than the section above it. Lightweight woven cotton is a manageable choice because it gathers evenly and stays relatively stable.
Increase the differential feed and lengthen the stitch according to your machine’s instructions for gathering. Test the settings on a scrap, then serge along the upper edge of each tier, and compare its gathered length to that of the tier above it. Adjust the fullness as needed before joining the sections and completing the waistband and hem.
Your first serger projects do not need complex patterns or large amounts of fabric to build useful experience. Each completed item introduces a different skill, from controlling stretchy knits to gathering fabric and turning sharp corners. Save your test samples and record successful settings so you can recreate them on future projects. With steady practice, your serger can become a familiar tool for garments, accessories, upcycled pieces, and home décor.