

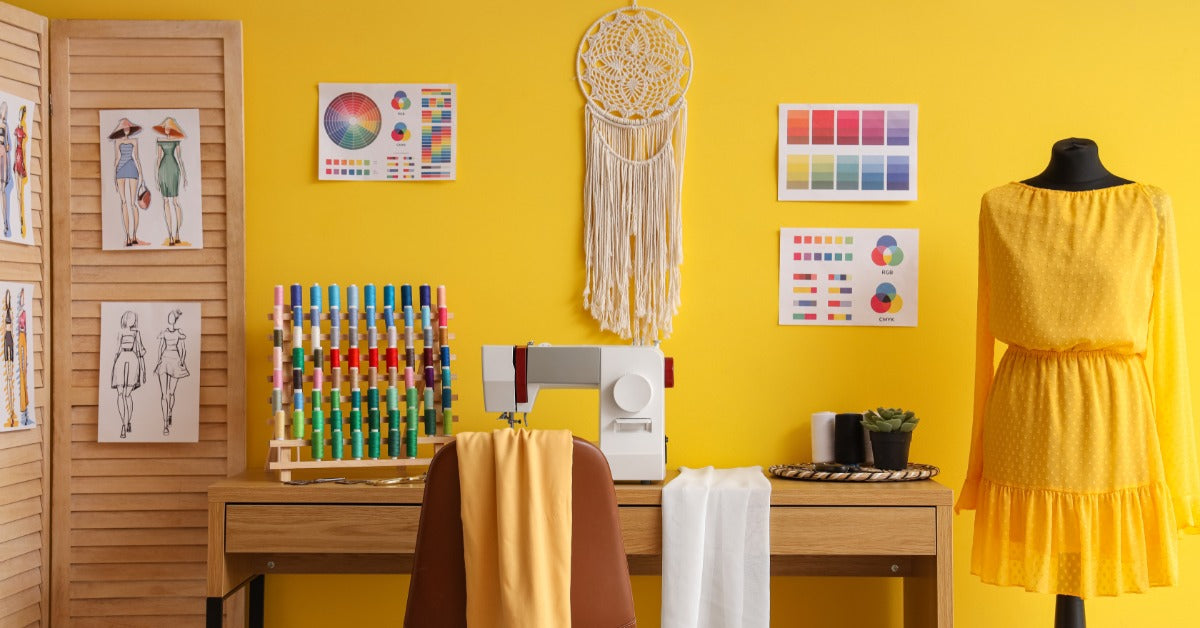
Even a well-equipped sewing room can feel inconvenient if the layout is cramped or poorly arranged. Planning a functional sewing room layout gives each task its own space and makes it easier to move from one step to the next. Thoughtful placement can reduce clutter, improve movement, and make your existing space feel more practical. Here’s how you can arrange the room so that it supports your work.
Start With the Space Available
Before arranging furniture, figure out how much of the room you can realistically use. The room’s size matters, but doors, windows, closets, outlets, vents, and other fixed features can all limit where workstations fit. Looking at these details together gives you a more accurate picture of the space you have to work with.
Measure and Map the Room
Measure each wall and note the dimensions of the larger furniture and equipment you plan to use. On a simple room sketch, mark fixed features and leave enough clearance for chairs, cabinet doors, drawers, and walkways. This makes it easier to spot layouts that look good on paper but would feel cramped in practice.
Be sure to include these details in your room sketch:
- wall lengths and overall dimensions
- doors, windows, and closets
- electrical outlets and vents
- existing furniture or built-ins
- clearance around work areas
Choose the Sewing Machine’s Location

When you plan a functional layout, think about more than where the machine fits in the sewing room. You also need enough space to sit comfortably, guide fabric, and reach the tools you use most often.
Before settling on a spot, consider these factors:
- Choose a location with an electrical outlet nearby so you won’t need to run cords across a walkway.
- Leave enough clearance to pull your sewing chair out, sit down comfortably, and move your arms without bumping nearby furniture.
- Keep open space behind and beside the machine so fabric has room to pass through without bunching against a wall or cabinet.
- Position the machine where you have good natural light or enough room to add task lighting.
- Make sure larger pieces of fabric can move freely around the machine instead of dragging on the floor or catching on nearby objects.
- Keep frequently used tools and supplies close enough to reach without repeatedly standing up or stretching across the workspace.
Use Furniture With Built-In Storage
Furniture can take up a large share of the available floor space, so each piece should earn its place. Look for tables, carts, and storage units that can support more than one task or keep supplies close. Multifunctional pieces are especially useful when your sewing area shares space with another room.
Sewing machine cabinets can combine machine support, work surface, and storage in one piece of furniture. Choose a cabinet that fits your machine and leaves enough surface area for the types of projects you make most often. Also consider how much built-in storage you need for thread, notions, accessories, and other frequently used supplies.
Create Distinct Work Zones

A sewing room works best when each main activity has a clear place. Instead of letting cutting, sewing, pressing, and storage overlap, arrange the room so you can move from one task to the next without constantly clearing a surface first. Even in a small room, you can create separate zones by giving each area a specific job, even if some of them use the same table or storage.
Keep the tools for each task close to where you use them. Store rulers and cutting supplies near the cutting area, machine accessories near your sewing station, and pressing tools where they’re easy to reach between steps. This setup reduces unnecessary movement and makes it easier to keep the room organized while a project is in progress.
Pro-Tip: Shorten the Path Between Tasks
If you’re constantly walking around furniture, reaching across a table, or moving fabric from one side of the room to the other, the layout may be creating extra work. Arrange your most-used areas so the path between them is direct and unobstructed. You can place less frequently used equipment farther from the main work zone without affecting your everyday flow.
Use Vertical and Awkward Spaces
Floor space fills up quickly in a sewing room, so make use of walls, corners, and narrow areas when you can. These spots can hold supplies without crowding your main work surfaces.
Add storage to walls, corners, and unused gaps with these solutions:
- shelves above work tables
- wall-mounted thread organizers
- pegboards for lightweight tools
- narrow cabinets between larger furniture
- corner shelving units
- hooks for rulers or cutting mats
- small bins beneath tables
Plan Where Unfinished Projects Will Go
Works in progress can quickly take over tables, chairs, and other surfaces if they don’t have a designated place. Plan a storage method that keeps each project together while still fitting the amount of space you have.
Create a Dedicated Project Zone
If you have the room, set aside a shelf, cart, drawer, or cabinet section for active projects. Keep the fabric, thread, pattern pieces, and other materials for each project together so nothing gets separated. Use separate bins or containers when you’re working on more than one project at a time. This gives unfinished work a consistent place to go between sewing sessions.
Use Portable Storage in Small Spaces
In a smaller sewing area, choose storage that can move or tuck away when you’re finished working. Baskets, lidded bins, project bags, or rolling carts can keep materials together without requiring a permanent work-in-progress area. Store them under a table, inside a closet, or beside your sewing station when they’re not in use. Portable storage also makes it easier to clear shared surfaces for other activities.
A functional sewing room combines smart placement, useful storage, and furniture that supports the way you work. Specialized pieces such as sewing cabinets, cutting tables, and storage units can make better use of the room by giving machines, tools, and projects dedicated space. Clear work zones and open pathways also make it easier to move from one task to the next without unnecessary clutter. When each part of the room has a clear purpose, the space becomes easier to use and adapt over time.