

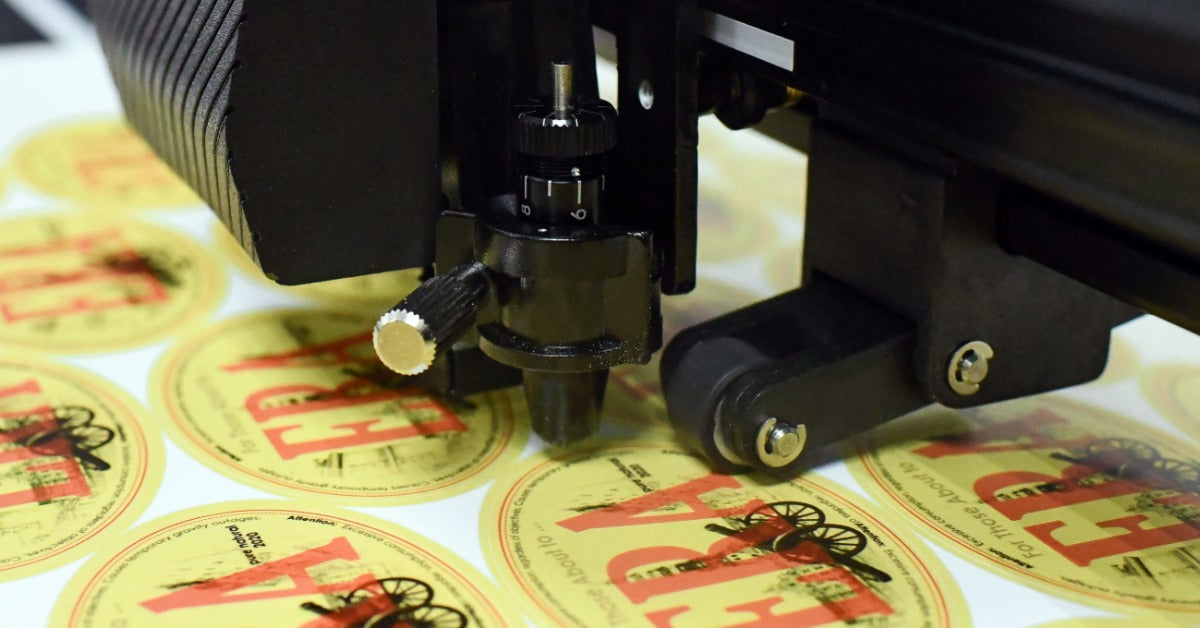
A detailed appliqué, vinyl decal, or paper design can quickly turn into a long session of tracing and cutting. Electronic tools can simplify that preparation, but not every machine offers the same workflow or level of control. Built-in scanning, on-screen editing, and flexible design options make ScanNCut machines unique for crafters. By understanding these features, you can personalize projects without adding several separate tools.
Scan Your Own Images and Materials
ScanNCut machines have a built-in scanner that can capture drawings, printed images, and materials placed directly on the cutting mat. Once an image is scanned, you can turn it into cutting data or use it as a visual guide for positioning a design.
Convert Drawings Into Cut Files
Your own drawing can become the starting point for a custom cutting design. After scanning it, you can select the lines you want the machine to recognize and save them as cutting data. This makes it possible to create original lettering, personalized labels, simple illustrations, and shapes that may not appear in premade design libraries.
Scan Printed Craft Designs
You can also scan printed artwork and prepare it for cutting, depending on its contrast and level of detail. For instance, you may scan a printed shape and create a cutting line that follows its outer edge. Compatible CanvasWorkspace features can provide more controlled placement for certain print-to-cut projects. Reviewing the preview before cutting lets you catch missing details or unwanted lines before you use your material.
Position Cuts
Once material is placed on the mat, the scanner can display it on the machine’s screen. You can then move the design over the scanned image to avoid stains, previous cuts, printed motifs, or other areas you don’t want to use. This feature is also useful when you want an appliqué or quilt shape to capture a specific part of a patterned fabric. More precise placement reduces waste and makes smaller scraps easier to use.
Cut Without Cartridges or Dies

Cartridges store preloaded designs, while dies are fixed cutting shapes. Both can limit customization and require buying additional pieces for new sizes or patterns.
Many ScanNCut models include built-in designs and fonts that you can select directly on the machine. You can also import compatible digital files or create cutting data from scanned artwork, giving you more options beyond the included design library.
That flexibility makes ScanNCut machines unique for crafters who don’t want to purchase a separate physical die for every shape. Once a design is loaded, you can resize, mirror, rotate, or repeat it to fit the material and the project.
Reuse Designs Across New Projects
Once you save a design, you can return to it for future projects instead of starting over. You can change the size, orientation, or number of copies to suit the new material. This gives one design more value across several types of crafts.
Edit Designs on the Screen
ScanNCut machines include on-screen tools for making common adjustments before the blade begins cutting. You can make many changes directly on the machine without moving the project back to another device. The preview screen also gives you a chance to review the size, orientation, and layout before loading the mat.
Common editing options on the ScanNCut include:
- resizing individual shapes
- rotating designs for better placement
- mirroring images or lettering
- duplicating repeated project pieces
- rearranging items on the mat
- combining compatible design elements
Add Markings Before Cutting
With a compatible pen holder installed, certain ScanNCut machines can draw directly on the material before cutting it. Depending on the project, the machine can add lettering, decorative lines, placement guides, or other marked details. Some machine packages include pen accessories, while others require them to be purchased separately.
Drawing and cutting on the same mat can keep the drawn details aligned with the cut shape. For example, the machine can add a design to a paper tag and then cut around its outer edge. This coordinated process is useful for projects that require markings to appear in a precise position.
Work on a Variety of Materials

ScanNCut can prepare materials for sewing, paper crafting, vinyl work, and mixed-media projects. What you can use will depend on your electronic cutting machine model and its compatible tools. Blade type, mat selection, accessories, and material thickness can all influence the cutting process. Using the recommended setup keeps the material secure for more consistent results.
Depending on your machine and project, compatible materials may include:
- fabric for sewing projects
- paper for lightweight crafts
- cardstock for sturdy crafts
- adhesive vinyl for decals
- heat-transfer vinyl for fabric
- felt for shaped accents
Automatically Adjust for Different Materials
ScanNCut DX models use Auto Blade sensor technology to detect material thickness and determine the blade depth. This can remove some of the manual adjustments required when switching between materials.
Choosing blade depth manually can be one of the more time-consuming parts of preparing a cut. A setting that works well for vinyl may not suit cardstock, fabric, or another material. If the depth isn’t right, the blade may fail to cut through cleanly or may press too far into the mat. The Auto Blade simplifies setup, reduces guesswork, and makes it easier to switch between different types of projects.
Send Designs From Other Devices
CanvasWorkspace gives you another place to create, edit, and arrange compatible cutting or drawing data. The transfer methods available depend on your ScanNCut model.
With CanvasWorkspace design and editing software for ScanNCut, you may:
- Send files through a wireless connection.
- Move files with a USB drive.
- Connect the ScanNCut machine to a computer with a compatible USB cable.
- Export CanvasWorkspace projects as FCM files.
- Import supported SVG or DXF files.
- Recall saved designs on the machine.
A cutting machine is most useful when its features support the projects you make regularly. ScanNCut combines scanning, editing, drawing, and cutting in a connected workflow that can reduce the number of separate preparation steps. That can make it easier to move from an idea to a finished piece without switching between several tools. Since models offer different features, review the design library, transfer options, accessories, and compatible materials. Comparing those details can make it easier to identify the capabilities that will be most useful to you.