

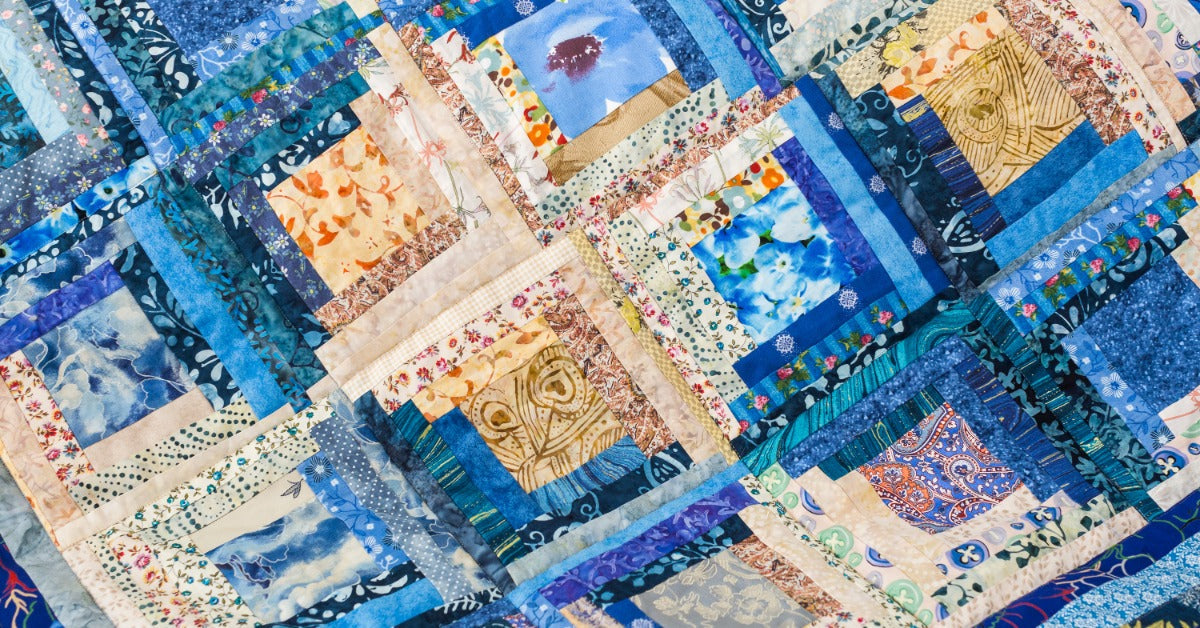
Quilting pulls you in with the promise of creativity, color, and the satisfaction of turning fabric into something useful. But small delays at the cutting table, frequent stops at the machine, and repeated layout changes can turn a fun project into a long one. A few practical adjustments can move your project along with less frustration and more consistency. If you want to speed up your quilting with pro techniques, start by looking at how you cut, sew, organize, and move through each stage of a quilt.
Build Blocks With Strips
With strip piecing, you sew long strips of fabric together first, then cut them into smaller units to build quilt blocks. Instead of stitching many little pairs one at a time, you create several components in one pass.
This technique works especially well for blocks with repeated shapes and regular layouts. Many quilters use it for designs that rely on squares, rectangles, or half-square triangle variations.
Match Fabric Widths Carefully
Accurate strip sets begin with consistent cutting widths. A strip that runs too narrow or too wide throws off every unit that comes after it. Clean, even strips also help your pieced sections lie flatter and line up better.
Chain Piece More Seams
Chain piecing is a quilting technique where you sew multiple fabric pieces together in a continuous line without cutting the thread between units. This keeps your machine running steadily and reduces time spent stopping, trimming, and repositioning fabric. As a result, your machine time feels smoother, and your piecing pace picks up quickly.
The method also helps you stay focused on repetition, which is especially beneficial when you are making blocks with many matching units. You can stack prepared pieces beside the machine, sew them in order, and separate them later in one quick step.
Keep Pairs in Order
Using a simple stack system keeps chain piecing fast and accurate. Place paired fabrics in the exact order you plan to sew them, then keep finished chains in a separate pile. This method prevents mix-ups and saves you from rechecking every piece.
Cut Fabric Precisely

Fast quilting starts at the cutting table, and the method you use affects your speed and accuracy throughout the project. Rotary cutting creates clean, consistent pieces quickly, while careful measuring keeps those pieces uniform. You can save even more time by stacking compatible layers for repeated cuts instead of working through one piece at a time.
These cutting strategies streamline quilt prep and keep the sewing stage moving:
- Press fabric before measuring and cutting.
- Replace dull rotary blades before they snag.
- Stack compatible layers for repeated cuts.
- Use the same ruler for matching units.
- Double-check counts before moving on.
- Group similar cuts together to save time.
Quick prep does not mean rushed prep. A few careful minutes at the table usually spare you from extra trimming, awkward seam matching, and frustrating do-overs later.
Batch Your Quilt Tasks
Batching means grouping similar tasks together rather than constantly switching between cutting, sewing, pressing, and trimming. This workflow feels more organized, reduces mental clutter, and helps you build a steadier rhythm as you work. When you spend less time switching between stations, each step tends to move faster.
You might cut all your pieces first, then sew all matching units, then press in one round, and trim at the end. This sequence keeps tools in place and reduces the time you spend resetting your space. By batching, you can also spot mistakes sooner because similar pieces stay together.
Work In Small Rounds
A full quilt can feel like a lot when you stare at the whole stack at once. Breaking the project into batches of blocks or units makes the work feel lighter and easier to track. You get more visible progress, which encourages you to maintain momentum. A shorter, repeatable workflow also makes it easier to stop and restart without losing your place.
Tune Your Machine Settings

Quilting machines offer helpful features such as an extended workspace, steady fabric feeding, and precise stitch control that enhance accuracy and comfort. These elements make it easier to handle layered fabric and maintain even seams across larger sections. Adjustable settings like stitch length, needle choice, and speed give you more control over how the machine performs. By fine-tuning the settings on your sewing machine for quilting, each step proceeds with greater consistency and fewer interruptions.
Adjust Stitch Length
Shorter stitch lengths usually work well for precise piecing, while slightly longer stitches may suit quilting through multiple layers. Testing on a fabric scrap helps you see what looks clean and balanced before you start.
Check Presser Foot Pressure
Presser foot pressure affects how firmly the machine holds fabric as it moves under the needle. If the fabric slips, shifts out of alignment, or feeds unevenly, you may need to increase the presser foot pressure. If the fabric puckers, stretches, or feels difficult to move under the foot, reducing the pressure can help it glide more smoothly.
Match Speed to the Task
A controlled speed helps with detailed piecing and accuracy around corners or smaller units. Faster speeds may work better on longer seams once you feel comfortable and the fabric is feeding evenly.
Organize Your Sewing Space
A cluttered space slows quilting in ways that are easy to overlook. You lose time reaching for scissors, hunting for the right ruler, or clearing fabric off a crowded table before each seam. By contrast, a well-arranged setup lets you smoothly move from cutting to sewing to pressing.
Use this checklist to adjust your setup for a better quilting workflow:
- Keep scissors and snips beside the machine.
- Store rulers upright so that they’re easy to grab.
- Group thread, bobbins, and needles together.
- Separate current projects from extra fabric.
- Leave open space for block layout.
Use Leaders and Enders
Leaders and enders involve sewing a small scrap piece at the beginning or end of a seam, rather than starting and stopping on your quilt pieces alone. You keep a few scrap squares or rectangles beside your machine and feed them through as needed. This habit helps stabilize stitching right away and keeps your machine moving smoothly.
The technique saves time by reducing thread nests and minimizing wasted thread at the start of seams. It also helps you move directly from one seam to the next without pausing as much.
Nest Your Seams
Nesting seams means pressing adjoining seams in opposite directions so they lock together when matched. When two units meet, the seam allowances fit together and help guide the pieces into place. That makes alignment easier and gives your intersections a cleaner look.
With this technique, you’ll spend less time pinning, adjusting, and resewing mismatched corners. The pieces line up more quickly under the needle, which makes the sewing process feel smoother. It also reduces frustration later when you join rows or blocks.
When your tools, techniques, and setup all work together, you spend less time troubleshooting and more time creating. You can speed up your quilting with these pro techniques, from strip piecing and chain piecing to batching tasks, tuning machine settings, and organizing your sewing space. Try a few of these techniques in your next project and see how much more smoothly your quilting can come together.