
You've found the perfect embroidery design, but when you load it onto your machine, you realize it won't fit inside your hoop. Even a small difference in dimensions can affect where a design fits or whether your machine can stitch it at all. Understanding what embroidery hoop sizes mean for your projects makes it easier to choose the right equipment and plan your designs. Here's what you need to know about hoop measurements, embroidery fields, and selecting the right size for different projects.
How Embroidery Hoop Sizes Are Measured
Machine embroidery hoops are typically labeled with two measurements that indicate the approximate width and height of the embroidery area they support. These dimensions are usually given in inches or millimeters, depending on the manufacturer. For example, a hoop labeled 5" × 7" generally supports a design area of approximately five inches wide and seven inches tall.
However, these measurements don't necessarily describe the hoop's outer dimensions or the exact space available for stitching. The physical frame is larger than the labeled embroidery area, and the machine may have additional limits on needle movement. That's why it's important to check the manufacturer's specifications rather than relying on the hoop's appearance or measurements alone.
Common Embroidery Hoop Sizes and Uses
Embroidery hoops come in different sizes to accommodate everything from small lettering to large decorative patterns. Smaller hoops work well for compact designs, while larger ones provide room for more detailed embroidery. For projects, embroidery hoop sizes determine how much of a design you can stitch in one hooping. This means your choice can affect both design possibilities and preparation time. Keep in mind that available sizes and usable embroidery areas vary by machine model and manufacturer.
Here are some common hoop sizes and what they're typically used for:
- 4" × 4": small monograms, initials, decorative patches, and children's clothing
- 5" × 7": medium-sized floral designs, shirt decorations, and personalized gifts
- 6" × 10": larger lettering, decorative borders, and designs for bags or home accessories
- 8" × 12": large embroidery patterns, jacket decorations, and detailed designs for quilts or wall hangings
Hoop Size vs. Embroidery Field

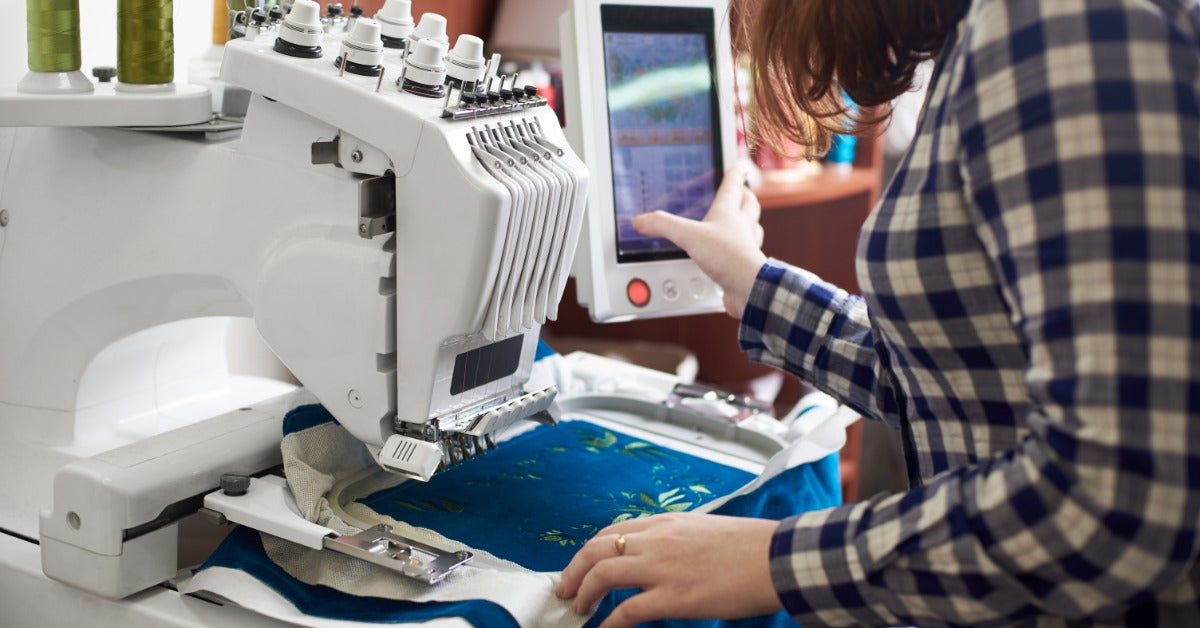
Although they're closely related, hoop size and embroidery field aren't always interchangeable. The hoop is the physical frame that holds your fabric in place, while the embroidery field is the area where your machine can actually stitch.
For instance, a machine with a maximum embroidery field of 5" × 7" can't stitch a larger design in one position simply because you've attached a bigger hoop. The machine's needle movement and software determine the limits of the stitching area. Before starting, compare your design's dimensions with the embroidery field supported by your machine and hoop combination.
Why Your Maximum Design Size Matters
Your maximum embroidery field determines how large a design can be stitched without repositioning the fabric. If a pattern exceeds this area, you may need to resize it, divide it into sections, or use a different machine. However, significantly enlarging or shrinking an embroidery design can affect stitch density and quality, sometimes requiring adjustments in digitizing software. Always check the final dimensions and stitch settings before transferring a modified design to your machine.
How Hoop Size Affects Design Placement
The hoop you choose affects where your embroidery sits on the fabric and how easily you can position it. An unnecessarily large frame can be awkward for small garments, pockets, or narrow fabric sections. Using one that's appropriately sized for your design makes positioning easier and keeps the material secure during stitching.
Before securing the fabric, decide exactly where you want the finished embroidery to appear. Many hoops include alignment marks or removable templates that make it easier to center your design. Taking a moment to check these reference points can prevent crooked lettering or patterns that end up too close to a seam.
Positioning Designs on Larger Projects
Large items such as quilts, jackets, and table runners require extra planning because much of the fabric extends beyond the hoop. Mark the intended design position on the material so you have a clear reference when securing it in the frame. You'll also want to support the excess fabric so its weight doesn't pull against the hooped area while the machine runs. For embroidery near pockets or garment edges, make sure the frame can attach securely without catching surrounding material.
Matching Hoop Sizes to Projects

The best hoop depends on your design size and the type of item you're embroidering. A small monogram on a shirt pocket, for example, has different placement requirements than a large pattern across the back of a jacket. When comparing embroidery sewing machines, consider their maximum embroidery fields and available hoop options based on the projects you'd like to make.
Here are several common projects and what to consider when selecting a hoop:
- Shirt monograms: Choose a small hoop that fits the lettering and allows accurate placement on the garment.
- Tote bags: A medium-sized hoop can accommodate decorative patterns, provided you can position the bag without obstructing the stitching area.
- Quilt blocks: Match the frame to the block's dimensions while accounting for seam allowances and proper stabilization.
- Jacket backs: A larger embroidery field gives you more room for oversized lettering or detailed decorative designs.
- Towels: Select a hoop that fits the design and allows the fabric to remain secure with an appropriate stabilizer.
When to Use Multi-Hooping
Some embroidery designs are too large to fit within your machine's maximum stitching area. Multi-hooping lets you create larger patterns by dividing them into sections and repositioning the fabric between stitching stages. Each section must line up correctly with the others to prevent visible gaps or overlapping stitches. Before trying this technique, confirm that your machine, design software, and embroidery file support the necessary positioning process.
Choosing Hoops for Different Fabrics
The material you're embroidering can influence which hoop works best. Lightweight cotton is usually easy to secure in a standard frame, but stretchy knits may become distorted if they're pulled too tightly. Thicker materials like denim or layered quilts can also be difficult to secure without placing excessive pressure on the fabric.
Using the correct stabilizer is just as important as choosing the hoop itself. Depending on the material, you might need a cut-away, tear-away, or specialty stabilizer to prevent puckering and shifting. For fabrics that are difficult to hoop directly, such as velvet or bulky towels, you can sometimes hoop the stabilizer first and secure the fabric on top.
Choosing the right embroidery hoop can make stitching easier, especially with detailed designs or challenging materials. Once you understand how measurements and embroidery fields relate to your machine, it's easier to recognize which hoops will work for different projects. As you gain experience, you'll also get a better sense of the sizes you use most often and when an additional hoop might be worthwhile. At Authorized Vac and Sew, we're here to help you explore compatible embroidery equipment and find the tools you need for your creative projects.